
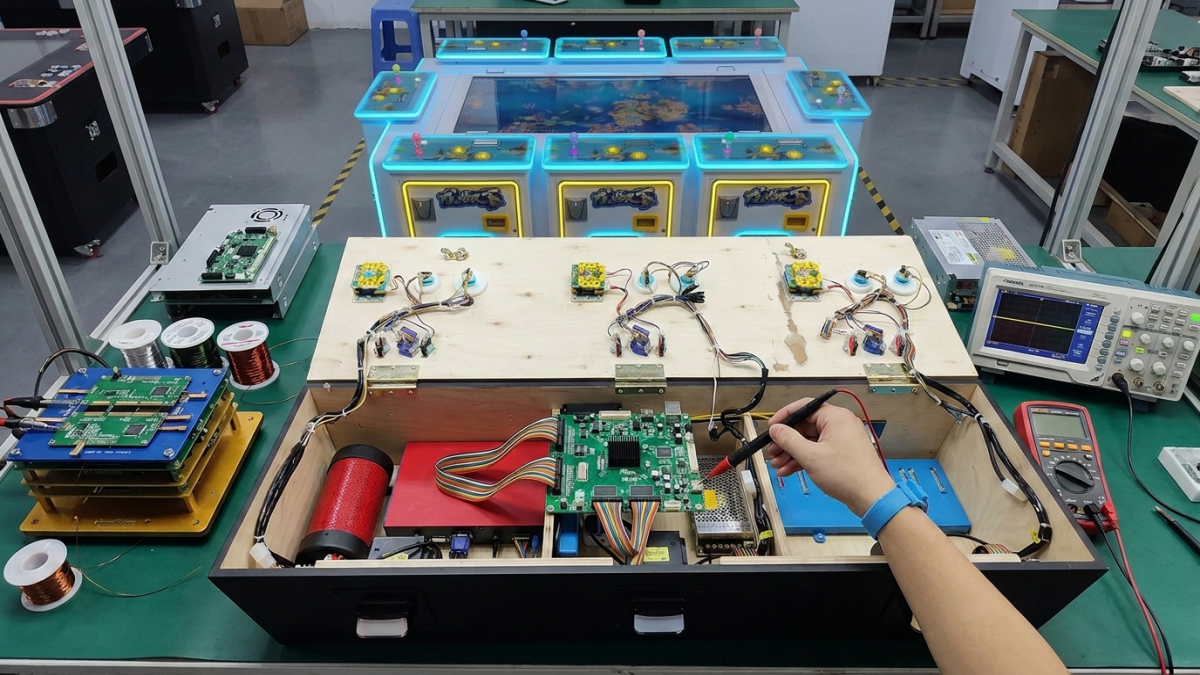
A fish game motherboard can look almost identical to the board already inside the machine and still be the wrong replacement.
The software may support a different number of players. The I/O board may use another wiring layout. The video output may not match the monitor, or the payment signal may be assigned differently.
For operators, distributors, and maintenance buyers, the safest approach is to match the complete machine configuration—not simply the PCB shape or game name.
Confirm the Motherboard Is Actually Faulty
No picture, random restarts, frozen gameplay, missing controls, and payment errors do not automatically prove that the motherboard has failed.
A weak power supply, loose harness, damaged video cable, incorrect I/O connection, or wrong software setting can produce similar symptoms. Replacing the board first may add cost while leaving the original fault in the cabinet.
Start by checking supply voltage, connectors, display cables, I/O wiring, and visible damage. Our fish game PCB troubleshooting guide explains how to separate board faults from surrounding power, display, and wiring problems.
Record the Original Configuration First
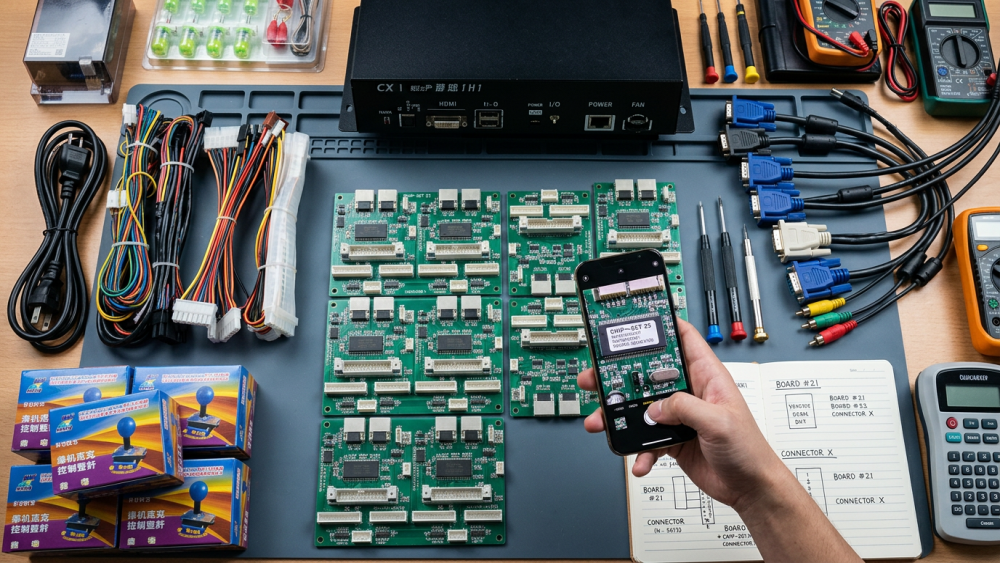
Before removing the old motherboard, photograph the front and back of the PCB, its labels, every connector, the I/O board, power input, video output, and wiring harness.
Also record the player count, screen resolution, software version, language, difficulty settings, credit value, payment method, and any previous modification.
Do not rely on the cabinet name alone. The same cabinet model may have been produced with different boards, software versions, or wiring arrangements over time.
Match the Player Count and I/O System
A board configured for four players should not be assumed to operate a six-, eight-, or ten-player cabinet.
The motherboard, I/O board, player harnesses, control addresses, and software settings must agree. A mismatch can leave one player position inactive, move controls to the wrong station, or send credits to another player.
After replacement, test every position separately. Check joystick direction, button response, player numbering, credit input, sound, and gameplay control. Testing only one station is not enough on a multiplayer machine.
Check the Entire Display Path
Matching connector names do not guarantee a working picture.
The PCB output, resolution, aspect ratio, display controller, signal cable, and monitor must operate together. Older fish tables may use 4:3 or 5:4 displays, while newer cabinets may use 16:9 screens.
VESA’s DisplayID standard is designed to communicate display capabilities such as supported formats and timing. In older arcade systems, however, fixed PCB output or a separate controller board may still require manual testing.
When requesting a replacement, provide the monitor label, controller-board photo, screen resolution, and clear pictures of both ends of the signal cable.

Verify Payment and Software Settings
A new motherboard may boot normally but still fail to recognise the venue’s coin acceptor or card system.
Confirm the payment interface, pulse signal, credit ratio, wiring position, and I/O input. For distributors serving several markets, these settings should be recorded by customer and machine version.
Language, player count, difficulty, sound, credit value, and other operating settings should also be copied before the old board is removed. Our fish game software settings guide explains why software settings must match the cabinet, player configuration, and payment system.
Confirm Power and Wiring Before Connection
Never connect a replacement PCB only because the plug fits.
Confirm the required voltage, connector orientation, pin assignment, grounding, and power-supply output. A visually identical connector may carry a different voltage or use a different pin order.
The IEC 62368-1 product safety standard uses energy-source classification and safeguards as the basis of electrical safety. It is not an arcade compatibility checklist, but it reinforces a basic repair rule: the machine’s intended electrical protection should not be bypassed during replacement.
What to Send Before Ordering
- Front and back photographs of the original PCB
- PCB label and software-version screen
- Machine model and number of player positions
- I/O board and wiring-harness photographs
- Monitor resolution and video-connector details
- Power connector and pin information
- Coin acceptor or card-reader configuration
- A power-on video showing the fault
Industry Insight
In PCB replacement work, the most expensive board is often the one that does not match the machine.
For a venue owner, a mismatch extends downtime. For a distributor, it creates another shipment and another round of technical support. For a maintenance buyer, it can turn a board replacement into a wiring and software conversion project.
The practical purchasing unit is therefore not the motherboard alone. It is the tested combination of PCB, software, I/O board, wiring, video output, payment interface, and player configuration.
A board that costs slightly more but arrives correctly configured is usually the more economical replacement.
Final Thoughts
Choose a fish game motherboard by complete system compatibility, not PCB appearance or game title alone.
Record the original configuration, diagnose the fault, and request a pre-shipment test covering the display, sound, payment input, and every player position. Accurate information before ordering is far easier to manage than an incompatible board after delivery.
Need Factory Direct Fish Game Solutions?
Contact FUSEN for fish game machines, PCB kits, cabinets, OEM/ODM customization, and long-term technical support.
Get Factory Quote